Still with me? I know this sounds a bit confusing. haha
Hope you guys get your craft on this weekend and make yourself some of these! If you have any pallets hanging around, give it a try. Free can't hurt right? Have a great Sunday! <3
Wow, long time no blog. A month has gone by and i've been brainstorming TONS of blog post ideas. The spring weather is finally showing itself so I thought it would be fun to get back into the swing of things. I've been a plant buying fool as of late and went to my first ever Plant Nerd Night. It was so much fun and I learned a ton about shrubs, flowers, correct soil and best of all DEER RESISTANT PLANTS. Now, I don't know where ya'll live but in my area, the deer like to think that my yard is a free buffet every day. I'd like to say that my almost 1 year old German Shepherd runs them off...but she likes to just stare at them. So, for that reason, I need to plant smart! I may just do a blog post here in the next couple weeks and share with you all that I learned. (: Now, on to the project that allows me to plant more flowers (and a bonus, keep them up off the ground in a cute shabby free flower box!). Now, I'm gonna be honest with you guys. Taking apart a pallet is no easy task. I'm not quite sure what the best route to take them apart is, but we did this the Lillie way. (whatever works haha) If you have a good way of doing it, leave a comments and let us know! (: 
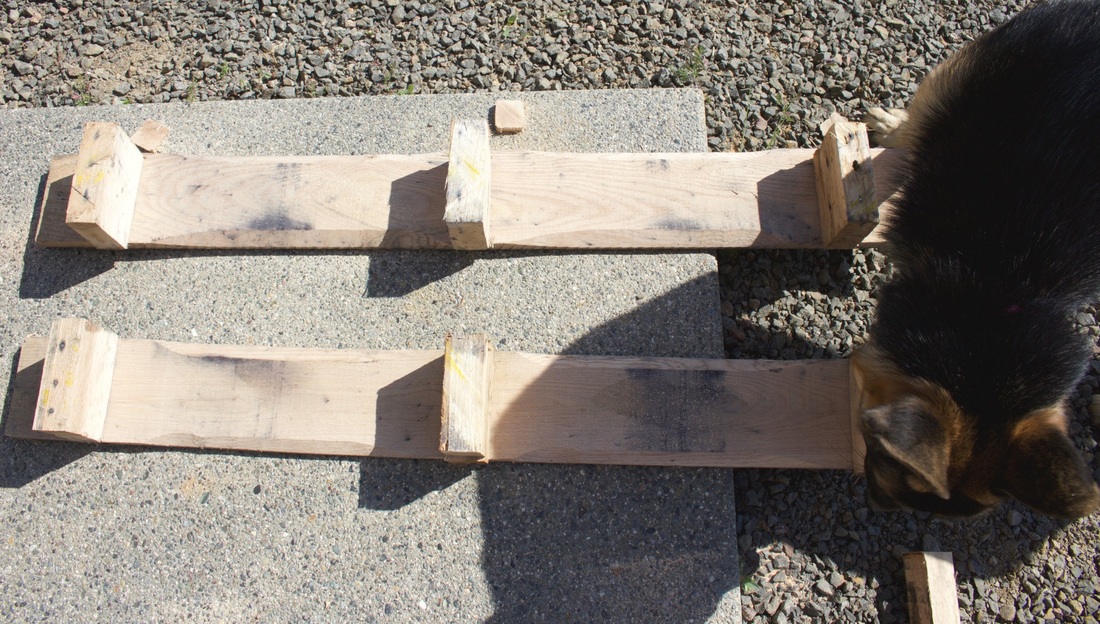
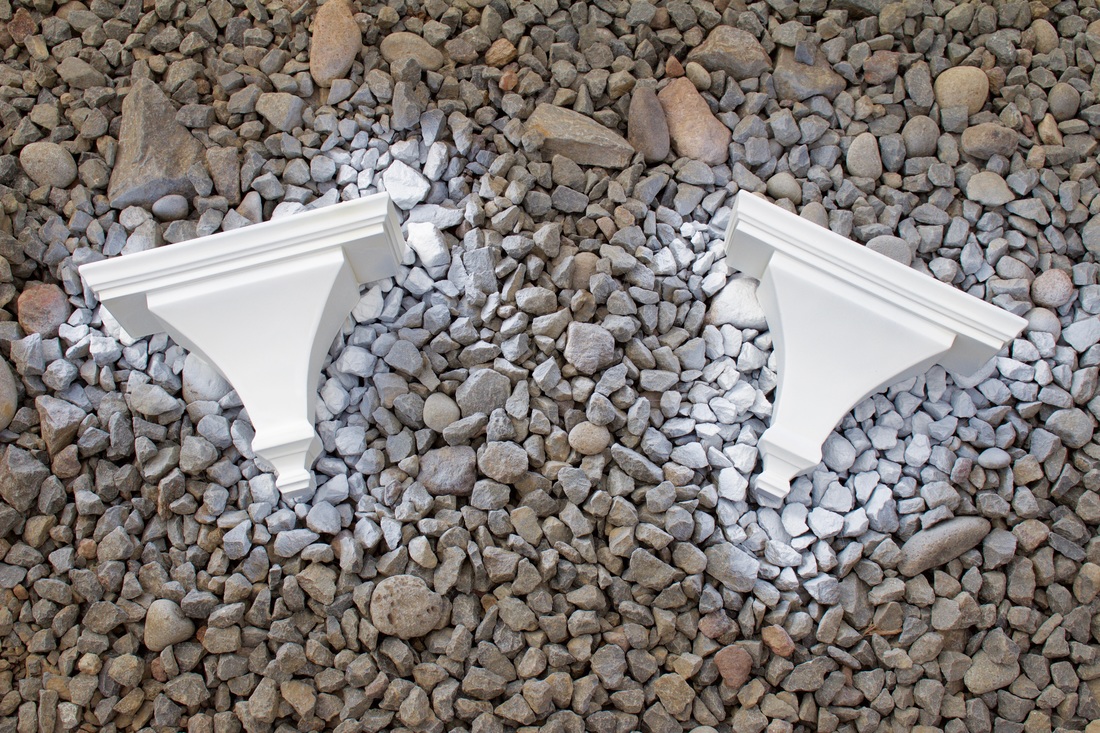
Here is the two sides that we used. Paisley had to lick it for good measure of course. 
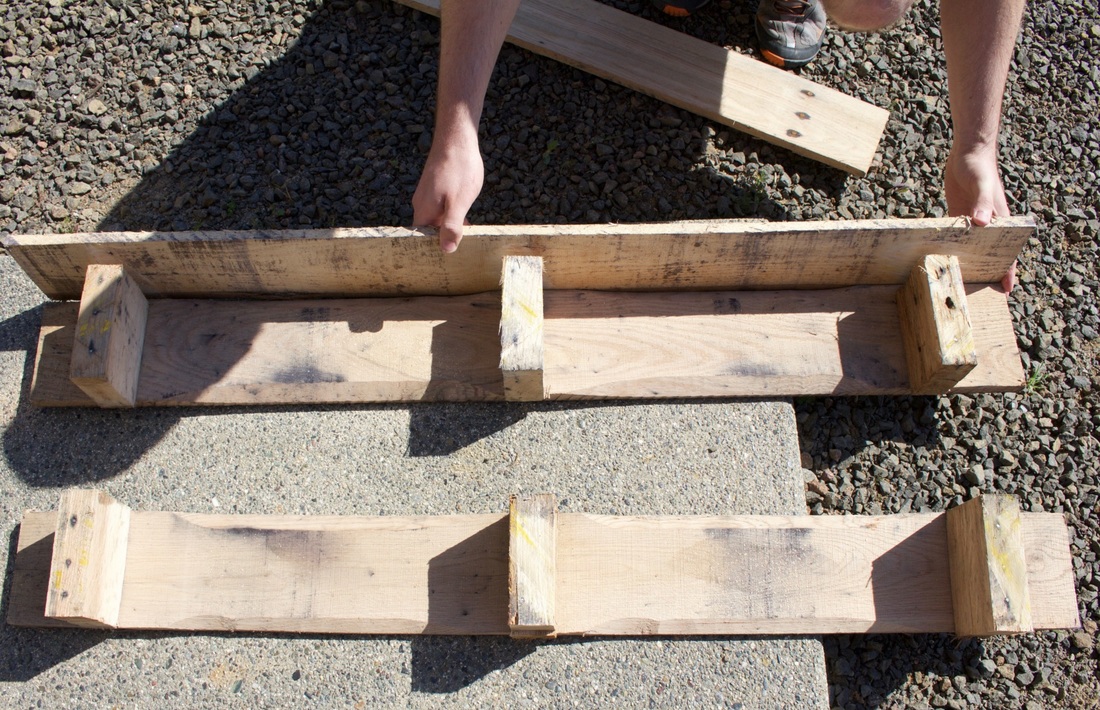
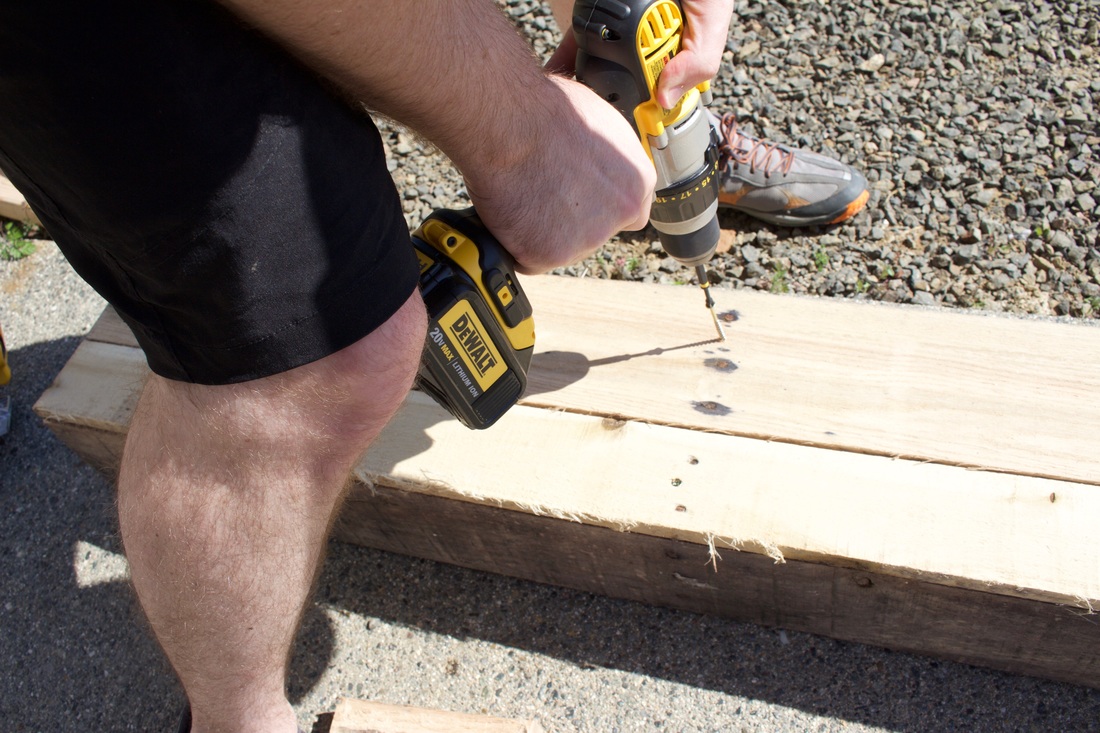
We began by placing another piece of pallet wood on the side of one of the pieces. This will be a bottom piece even though it looks like a side piece. 
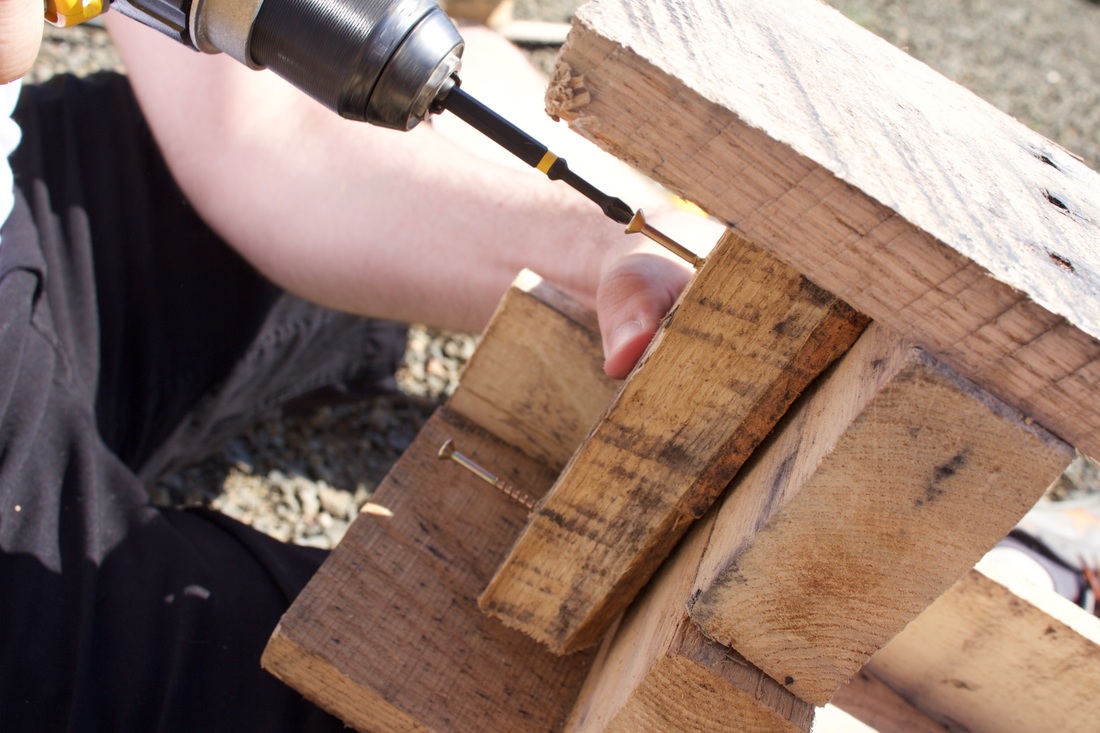
Once you have it screwed in, take the other piece with the three blocks on it and set on top of the other one. To keep the two together, The Mr. took a block of scrap wood and screwed it into each side. Still with me? I know this sounds a bit confusing. haha When you are done with screwing the blocks on each side flip it and add your last bottom piece and secure it. 
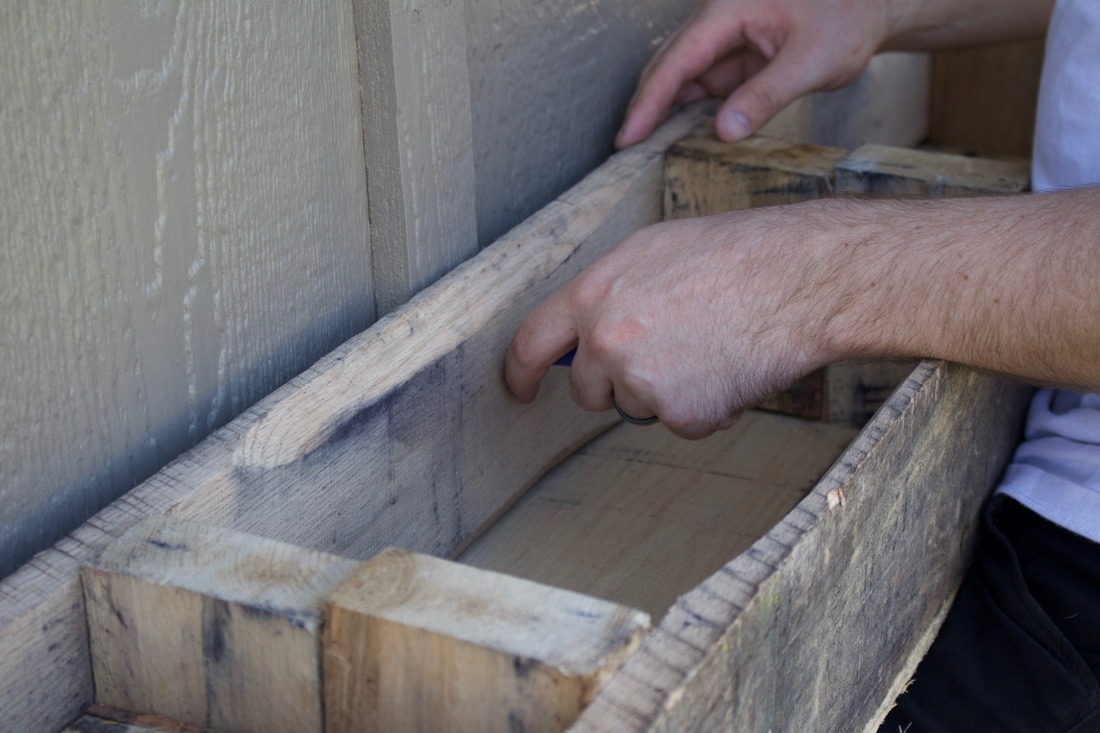
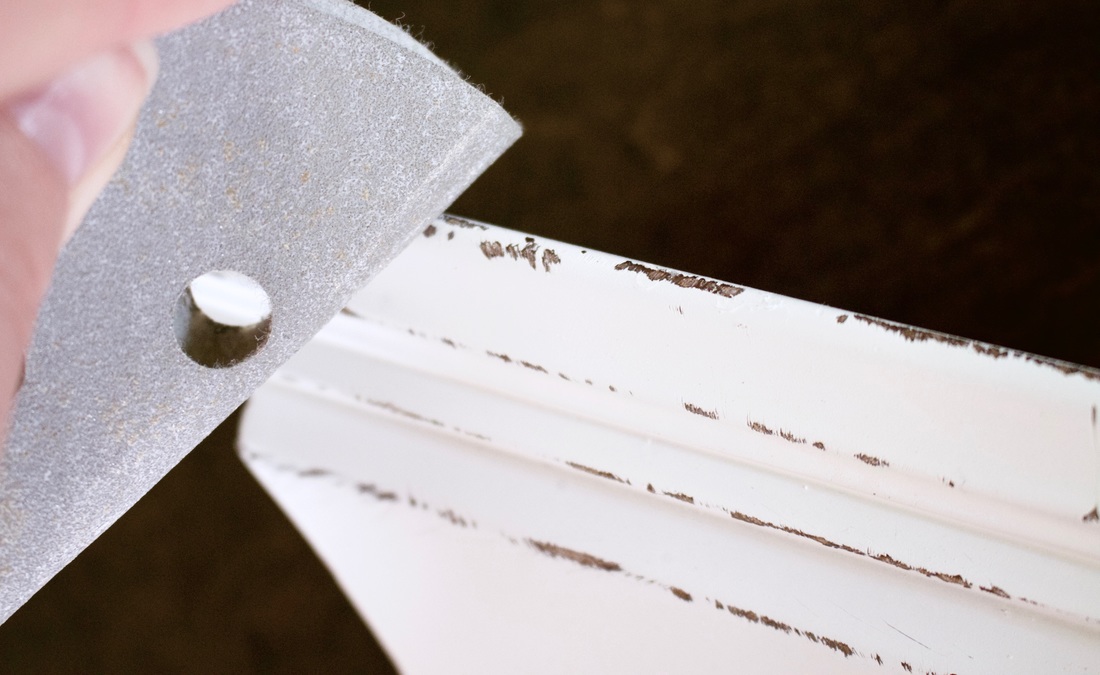
Before you hang it, make sure you make your marks with a pencil and pre drill to get the screws going. Another important tip is to make sure you use a level as well. Ain't nobody got time for a lopsided flower box. 
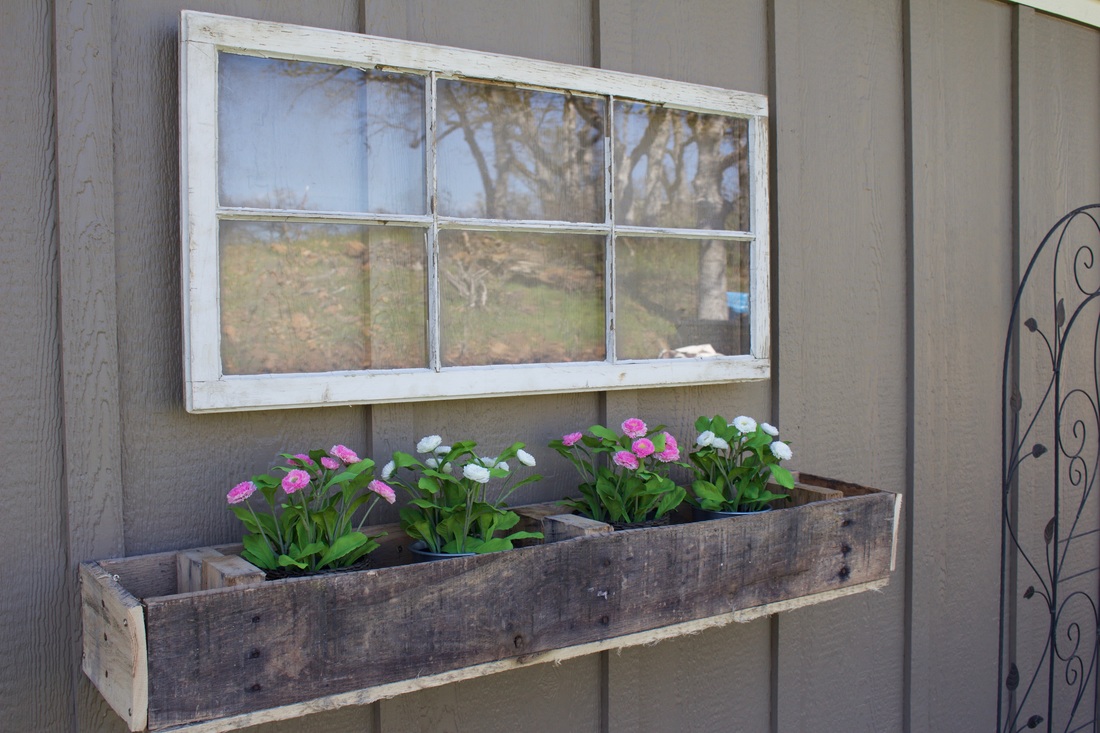
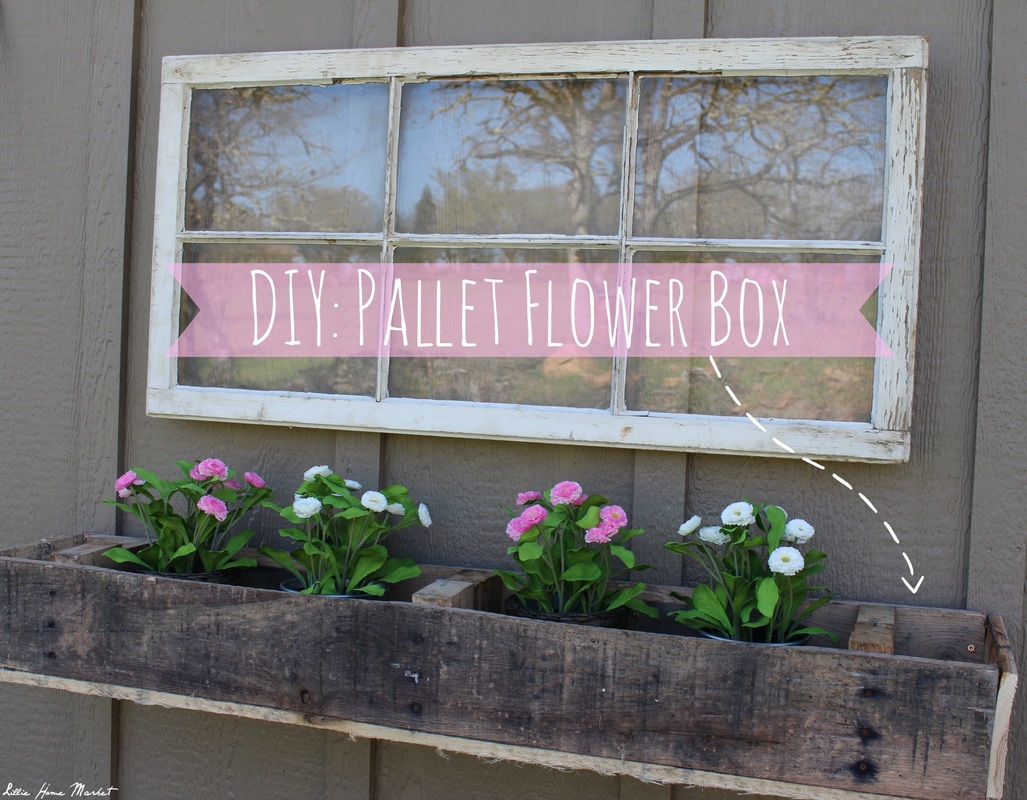
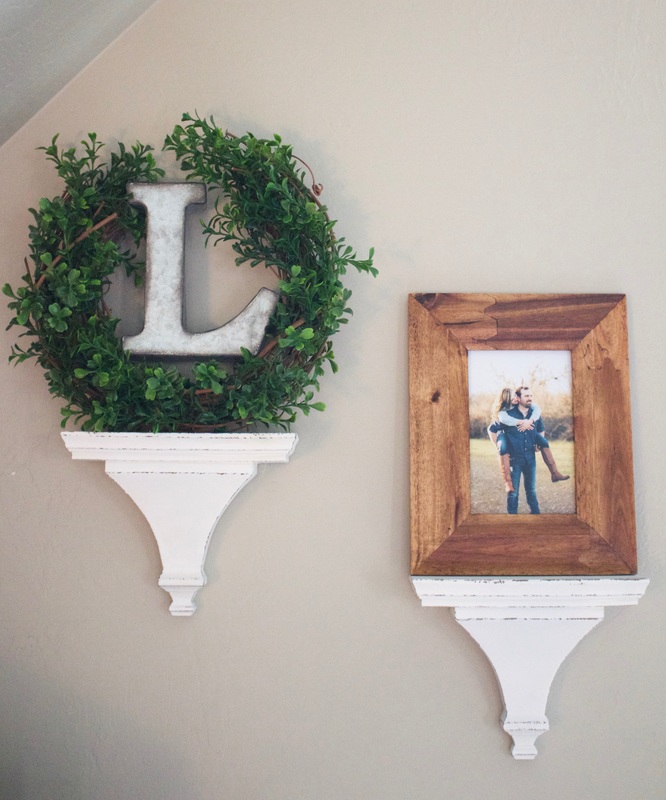
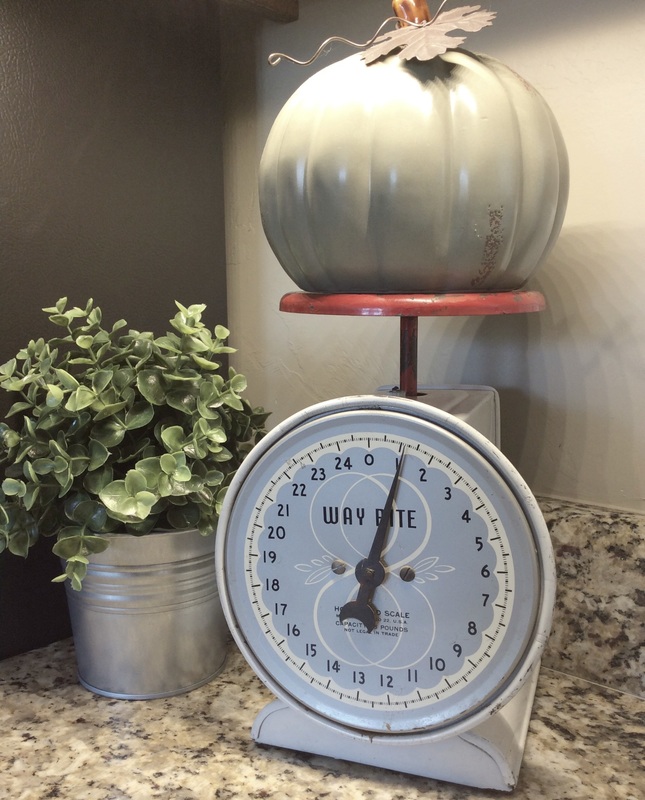
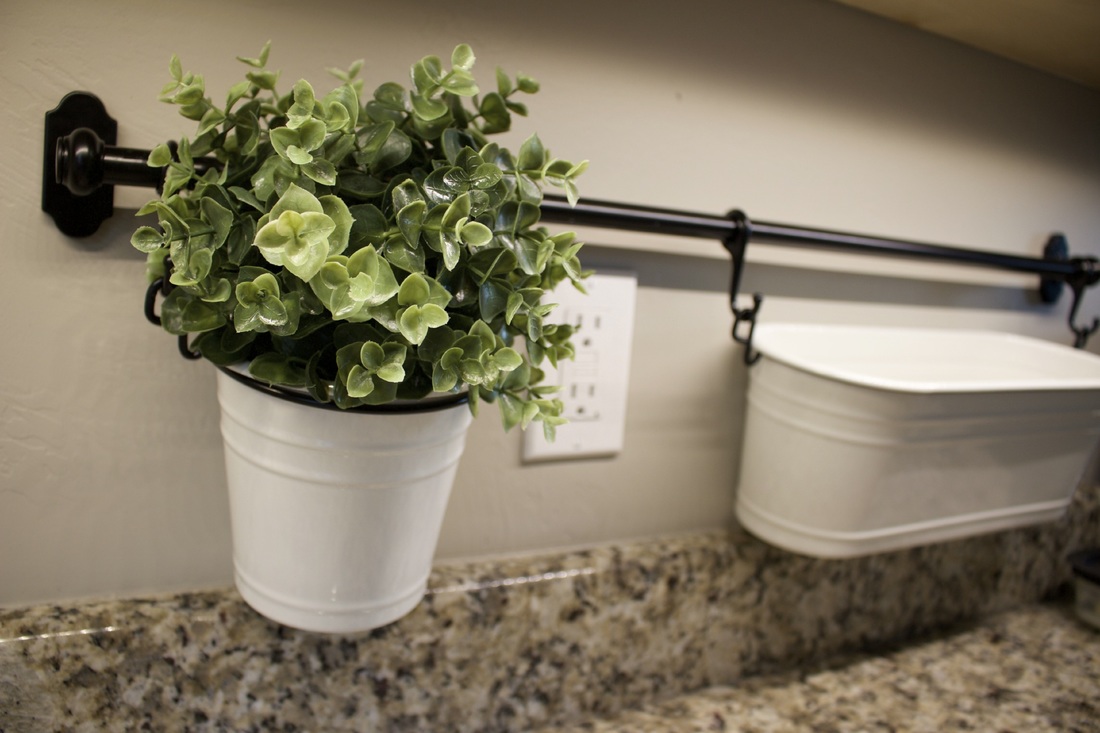
And there you have it! A fun rustic shabby pallet flower box! I love the look of this personally and wanted to add one more touch to it. This awesome junkin find I found at The Coop de Ville in my town. They were having a fun parking lot sale and I scored this baby! It was love at first sight. 
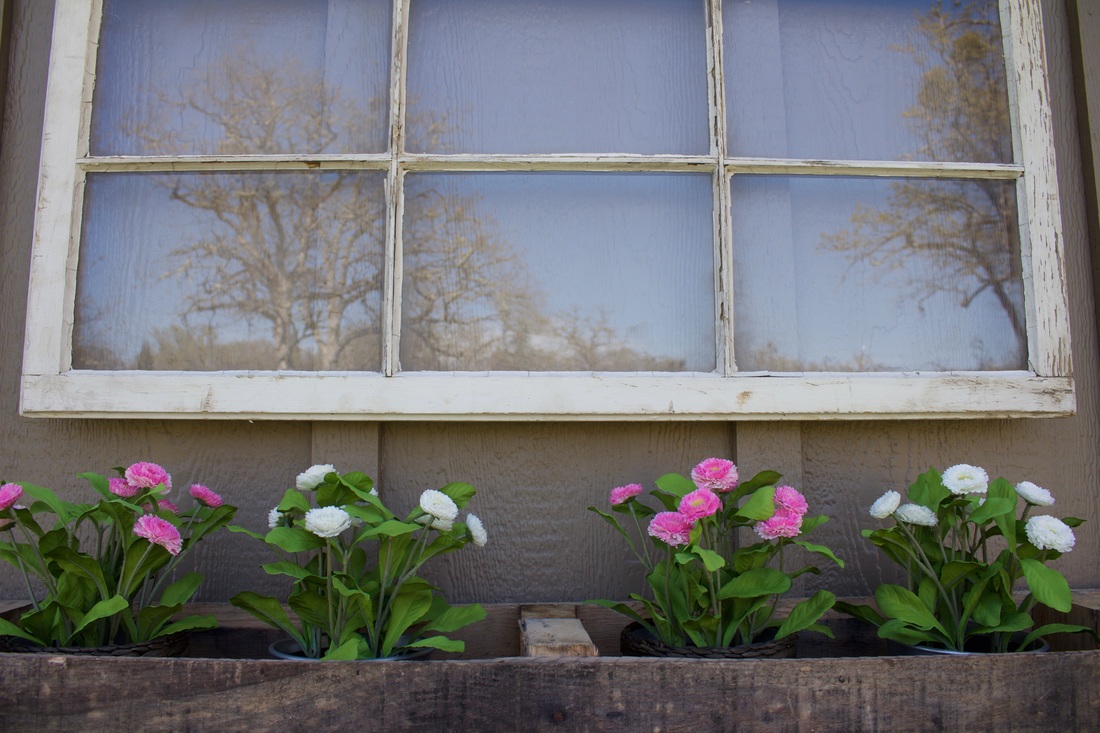
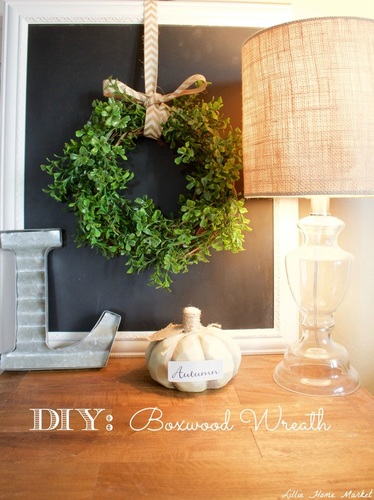
Until I can go shopping for some cute flowers for this thing, I popped in some faux flowers I found at Ikea a couple weekends back. They are SO cute! My mother-in-law even thought they were real for a minute when they came over for dinner. Plus best of all? For any of you out there with no green thumb...you definitely can't kill these (;
Hope you guys get your craft on this weekend and make yourself some of these! If you have any pallets hanging around, give it a try. Free can't hurt right? Have a great Sunday! <3
0 Comments
Long time no blog! Now that the holidays are over, things aren't supposed to be so hectic right? haha. With life, I don't think that's the case! Things are always hectic right? Then again, it would be pretty boring if it wasn't! I've been working on many areas in our home recently and have been on the go with little time to get them all in place. This weekend I wanted to share with you some goodies I found over the last couple weekends on my trips to Bend, OR. In my area, we don't have a Hobby Lobby or World Market. Two of my favorite places to find my decor inspiration besides thrifting and antique hunting. This month I've been very blessed to be able to go there twice! Double the trips to those places of course. (; So, check out below for all the goodies I found and how I styled them! I realized I got most of my stuff from "The Spring Shop 2016" at Hobby Lobby so make sure to check out that collection if you LOVE all things galvanized and such! Alright, enough chatting on my end, let's get down to it! I also have to mention really quick that I did find one things from Tj Maxx. Okay, for real this time, no more chatting. On to the pictures! To be honest, I'm still trying to find the perfect spot to place these adorable cups. For now, I have them hanging out on my counter in an old hickory farms crate that I scored when I moved into an old house to style it for selling purpose. There were quite a few of these things! The quality and color of these glasses are so cute and I'm kicking myself for not getting more! They are beautifully made. I took the tags off the bottom but they were made in Portugal and I know they were under $5.00 each. As soon as I saw these galvanized metal & wood stacked drawers I instantly got super excited because I knew exactly what I was going to use them for. { TEA! } The tea packets fit perfectly in here too! These were on sale for $11.99 each. This galvanized metal framed chalkboard was also part of "The Spring Shop 2016" collection. I went ahead and drew on it with chalk for hanging above my Magnolia Market coffee cup holder that The Mr. got me for Christmas <3 The sign is on sale for $11.99 right now. This one is pretty self explanatory. I hung it on my wall for our towels. (: I love how they roughed up the edges to give it a weathered look. This was $24.99. If you sign up with World Market you can get coupons sent to you. I used one for this! I'm in LOVE with these Lined Wire Charlotte Tote Baskets from World Market. They give me a huge country vibe with that chicken wire! I put my Ikea boxwood inside the basket and set it on my counter in the bathroom and I love the look of it! They have a bigger basket version of this, but this mini one cost $7.99. For the life of me I could not find this on Hobby Lobby's website to display it in the product spotlight collage. This is also apart of their "The Spring Shop 2016" collection. The price on the bottom says $17.99 but I know it was less than that! It was probably $11.99 because that seemed to be the theme of the prices on things I got haha.
All in all, I think I scored some pretty great stuff and can't wait for my next trip back! (Which might be next weekend!) What's your favorite thing you've found at Hobby Lobby or World Market? How'd you style it? I'd love to see! Have a great Saturday everyone! 6 days till Christmas! 6!!? How did that come upon us so fast? Around this time of year it's easy to get SO busy. I had to take some time out of the crazy busy day to work on a DIY project to get some creativity out. I haven't done any Christmas decor posts or Christmas home tours this year. (Maybe next year?) So, to get in the spirit, I decided to take a scrap piece of wood we had in the garage and turn it into something festive! (: Check out below this easy DIY with a free printable that I created to share with you guys. Think of it as an early Christmas present <3 First things first! Find yourself a scrap piece of wood! The printable is a little bit smaller than a regular 8x11 piece of paper so make sure the wood is at least that size. Next step: They were all out of the white Krylon Chalky Spray Paint at Michaels. The sweet lady checked in their stock below the shelf and there was none left. It's one hot item apparently. I went ahead and just went with regular white Kyrlon spray paint. It did the job just fine. (: I didn't cover the whole board completely. I wanted some of the wood color to be showing through. I roughed it up a bit by using some sandpaper and scraping the edges, and areas on the board. I bought these ADORABLE wooden close pins at Target for $1.00! I couldn't pass that up. I ended up using the tree ones on this project. Still brainstorming what I can do with the cute plaid reindeer ones. Any ideas? (; I went ahead and heated up the glue gun. Sister-In-Law once again to the rescue! Can you believe I don't have one of these things? On the list of to gets haha. I ran some glue along the clip and secured it on the board. As you let that sit and dry, it's time to cut out your printable! I did two different options. I love both these sayings so I printed both and made two boards! (: Now, time to put it all together! Once your printable is cut out, open the clip, slide the printable on and there you have it! An easy, $1.00 DIY Christmas printable! Hope you guys enjoy the printable! Let me know if you use it/how you style yours. I'd LOVE to see them. Now, off to wrapping Christmas presents and cleaning this house! Hope everyone has a fantastic Saturday. God Bless <3
It's Sunday! Probably my favorite day of the week. Lots of Jesus & lots of coffee! (: I hope everyone had a great time with friends and family these past few weeks. I feel as if I haven't posted in a while! It's my absolute favorite time of the year. Lots of food, lots of family and lots of time for crafts and decorating! (: I wanted to share this DIY on making your own sign. I've been eyeing signs to put above my kitchen sink for a while now. I searched and searched but didn't find any that would quite fit, or that was around the cost I was looking for. I went junkin & antiquing yesterday with my sister-in-law and mom. No luck :( I did find some great Christmas treasures though! So, until I find the right one at the right price that just steals my heart, I decided to get my DIY on and make my own! Check out below if you're interested in making your own sign. (: Supplies: Piece of scrap wood Printed paper with your words Tape measure Pencil Wood marker Transfer Paper Size wise is going to depend on how big you want your sign, or how much space you have above and between your window area. I found this scrap piece of wood in the big pile that my brother saves from building his houses. SCORE! Thank you brother (; I spray painted it with a coat of white Krylon chalky spray paint. (The same stuff I used on my distressed chalk paint shelves project) For the words I want on my board, I used Microsoft Word and found a font I liked. I then placed the text on the board and measured 3 1/2 inches in from each side of the board and marked it with pencil. Now that you've made your mark, take the paper off and tear off a long enough piece of transfer paper. Again, I didn't know this stuff existed. I have to thank The Mr. for introducing me to this stuff. WHERE HAVE I BEEN? Speaking of The Mr...he was so kind to help me with this next step. He placed the transfer paper down onto the board, set the text paper on it and began to trace away! Now, I have to be honest. The transfer paper got a little bit of black smudges on the white paint. I went ahead and did a light spray over it to get rid of them. Once that drys, this is what your sign should start looking like. We are almost done! As soon as I got to the part of filling in the words, I was rummaging through all my paint and seeing if I had any black paint. I completely spaced this part for some reason and thought that I had some. So thankful that I am neighbors with my family because I walked over and asked my sister-in-law if she had any. She came to my rescue and I found this magical marker! Could it be any more perfect for this project? Wood sign....wood marker. Perfect! (: Family comes to the rescue yet again haha. And there you have it! My very own DIY sign! I'm loving it! Also, side note, I now have Christmas decor up. It's hard to take away the pumpkins. I love fall! Now, to start brainstorming for some type of curtains and trim work for that window. It's in some serious need of attention. What do you guys think I should do there? Leave your ideas in the comments below and let me know if you attempt your own sign! Have a great Sunday everyone! God Bless <3
Happy Halloween! Today on the blog, I want to share with you an easy way to update those thrifted goodies with: { Krylon Chalky Finish spray paint. } They have a bunch of different colors to choose from. I got mine at my local Michaels for $10.99 a can so get those coupons out! It is my new found favorite product! I feel like it has been out for a while so where the heck have I been!? You can use this spray paint on just about anything. Another great thing about it? It dries SO quick! I was done with this project in no time at all. Check out below on how I transformed my thrifted shelves into a more distressed look that fits the Lillie household. They look like beauties now! See what just a little bit of paint can do? The shelves before. There is no prepping or priming when using this spray paint. I'm all about that! I went with Classic White for my shelves. This stuff goes a long way and I've used it for so many projects already! Spray about 6-8 inches from the object. Already looking great after one coat! I ended up doing two coats just to make sure none of the cherry brown was showing through. Once it was dry, I took 120 grit sand paper and roughed the edges up a bit. And there you have it!! Transformed from a cherry wood color to distressed white! I love the look of these and just how easy it was!
Hope everyone has a safe Halloween and a great Saturday! Happy Sunday everyone! Today on the blog, I want to share with you an easy DIY anyone could do! Even for those "non-crafty" ladies and gents out there, you can do this. (; I'm pretty sure I have an unhealthy relationship with anything boxwood. Everywhere you turn in my house, you are bound to see some type of boxwood something. So, naturally I had to add more! For me, this project cost me nothing. (Major score!) A couple months back my parents went to a fireman's ball up at the beautiful Box R Ranch in the hills of Ashland, OR. My mom gushed over the awesome decor that her friend had put together. Apparently, nobody wanted to keep the wreaths or boxwood sprays. Crazy right? I actually had no idea she had this stuff in their shop! The Mr. & I were on the hunt for an air mattress in the shop when I spotted these. It was the most glorious -EYE CANDY- I quickly called my mom and asked what she was doing with them. To my excitement she told me I could have them! (: This is very easy to create if you went to Michaels or your closest craft store and bought the materials. Michaels is constantly having so many sales, so coupon up and make a trip! Here's how I made my boxwood wreath... Now, don't laugh at the picture qualities for this post. I did this late at night (cause for some, that's the best time to get things done right?) These were a little bit more tricky to work with because the wreaths weren't exactly all the way round. These boxwood sprays were tiny which I liked because they were easy for creating a full look to my liking. Some were single sprays and others were 3 sprays on one stem. Basically you start by putting the stem between the wood wreath sticks or whatever you want to call those things haha. Then, take the spray leaves and go under one of the sticks. Basically, you are weaving it to make them stay. Once you find a technique you like, just continue adding the boxwood to the wreath till you get the desired look you are going for. (: And there you have it! You have your own boxwood wreath! These puppies can be expensive but if you can find a good deal on one, get it while you can! Otherwise, buy your crafting materials with those coupons and make it yourself! It really is easy to do and a great decor that you can style so many ways! Below is how I decided to style this one (: So, get your craft on and let me know how you style your boxwood wreaths. I'd love to see! Hope everyone had a great weekend and happy DIYing!
Hello everyone! I'm so excited to share my very first decor post!
This weekend, the Mr. & I along with my brother and sister-in-law took a trip up to Portland, OR. If you've never been, add it to the list! If you haven't read my about me tab, you may not know that we have a 5 month old German Shepherd. My brother also has her sister! We found this amazing training place in Portland called Offleash K-9 Training. AMAZING AMAZING AMAZING. We were there for two days worth of training so we made a fun weekend out of it! (: The girls learned so much! And oh boy, so did we! While the girls were in training the first day with the trainers, we took off to Ikea. I have only been to Ikea once. I kid you not, I felt like a kid in a candy store when we got there. The excitement was at an all time high you guys! I found so many treasures to transform my kitchen more into the style I am shooting for. Farmhouse Style! I have to give a big shout out to Joanna Gaines for creating a love for this look. Her kitchen is swoon worthy. The Mr. & I both love the kitchen in their Farmhouse that we had to try and bring it into our home...Lillie Style (; Check out below for our kitchen transformation! |
Archives
April 2016
Categories |