It's Sunday! Probably my favorite day of the week. Lots of Jesus & lots of coffee! (: I hope everyone had a great time with friends and family these past few weeks. I feel as if I haven't posted in a while! It's my absolute favorite time of the year. Lots of food, lots of family and lots of time for crafts and decorating! (: I wanted to share this DIY on making your own sign. I've been eyeing signs to put above my kitchen sink for a while now. I searched and searched but didn't find any that would quite fit, or that was around the cost I was looking for. I went junkin & antiquing yesterday with my sister-in-law and mom. No luck :( I did find some great Christmas treasures though! So, until I find the right one at the right price that just steals my heart, I decided to get my DIY on and make my own! Check out below if you're interested in making your own sign. (:

Supplies:
Piece of scrap wood
Printed paper with your words
Tape measure
Pencil
Wood marker
Transfer Paper
Piece of scrap wood
Printed paper with your words
Tape measure
Pencil
Wood marker
Transfer Paper
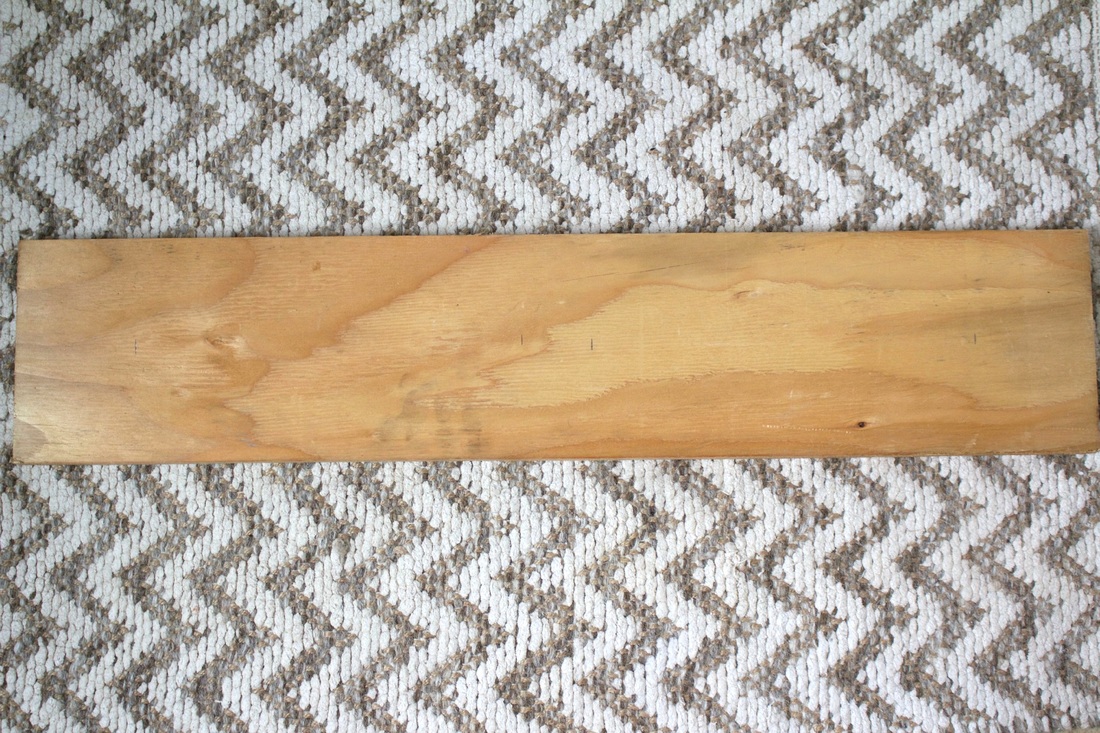
Size wise is going to depend on how big you want your sign, or how much space you have above and between your window area. I found this scrap piece of wood in the big pile that my brother saves from building his houses. SCORE! Thank you brother (; I spray painted it with a coat of white Krylon chalky spray paint. (The same stuff I used on my distressed chalk paint shelves project)
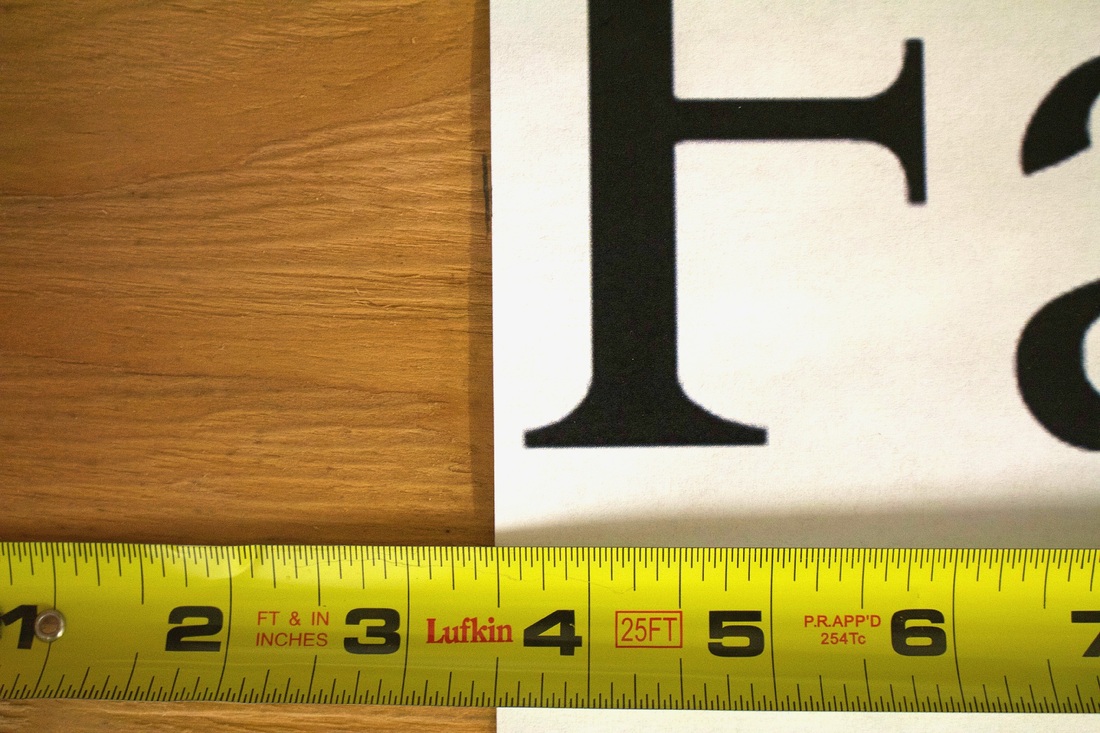
For the words I want on my board, I used Microsoft Word and found a font I liked. I then placed the text on the board and measured 3 1/2 inches in from each side of the board and marked it with pencil.
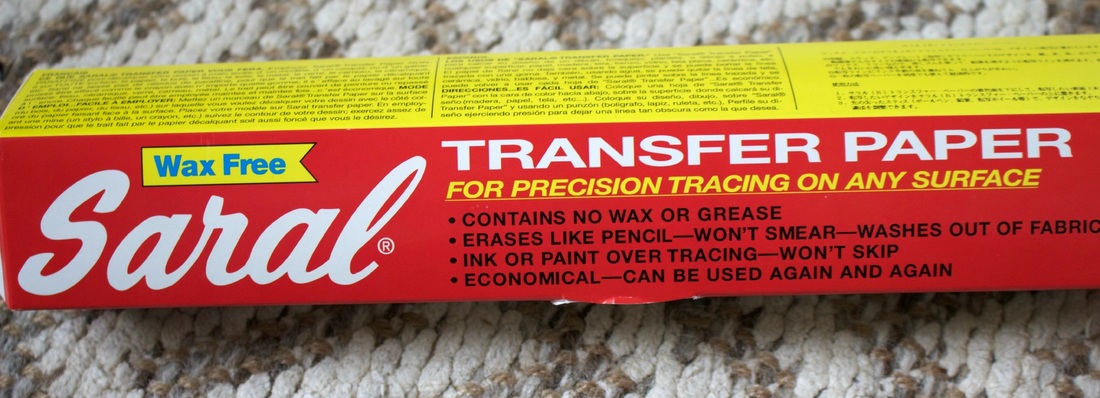
Now that you've made your mark, take the paper off and tear off a long enough piece of transfer paper. Again, I didn't know this stuff existed. I have to thank The Mr. for introducing me to this stuff.
WHERE HAVE I BEEN?
WHERE HAVE I BEEN?
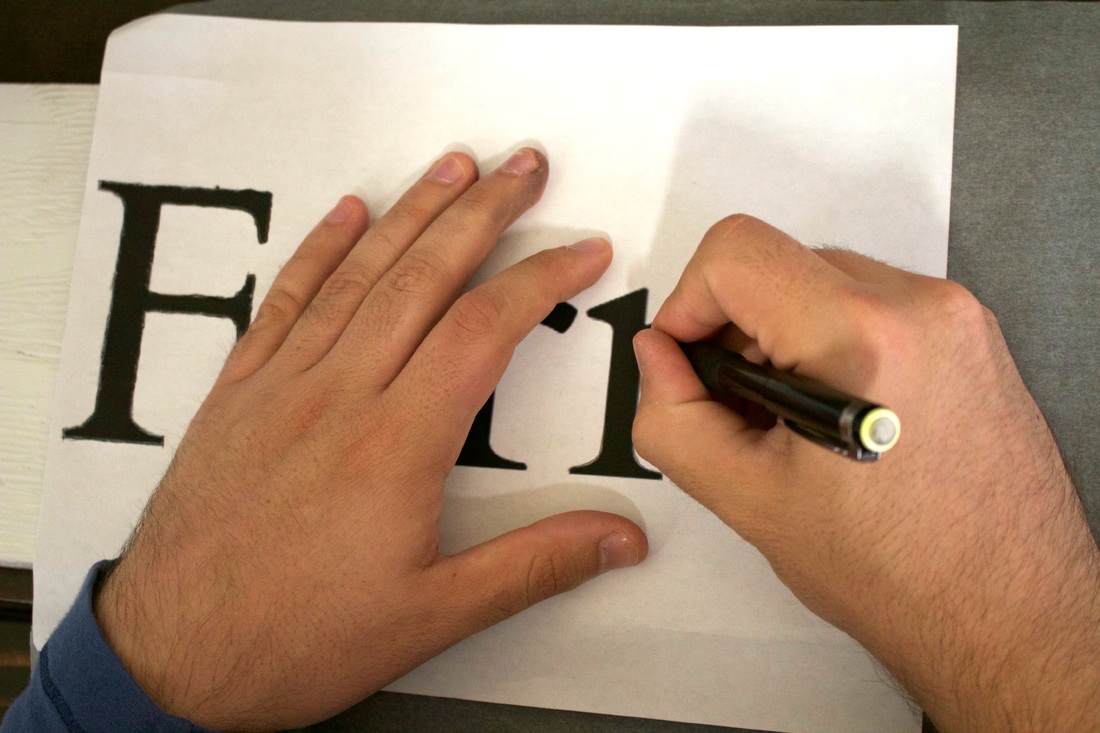
Speaking of The Mr...he was so kind to help me with this next step. He placed the transfer paper down onto the board, set the text paper on it and began to trace away!
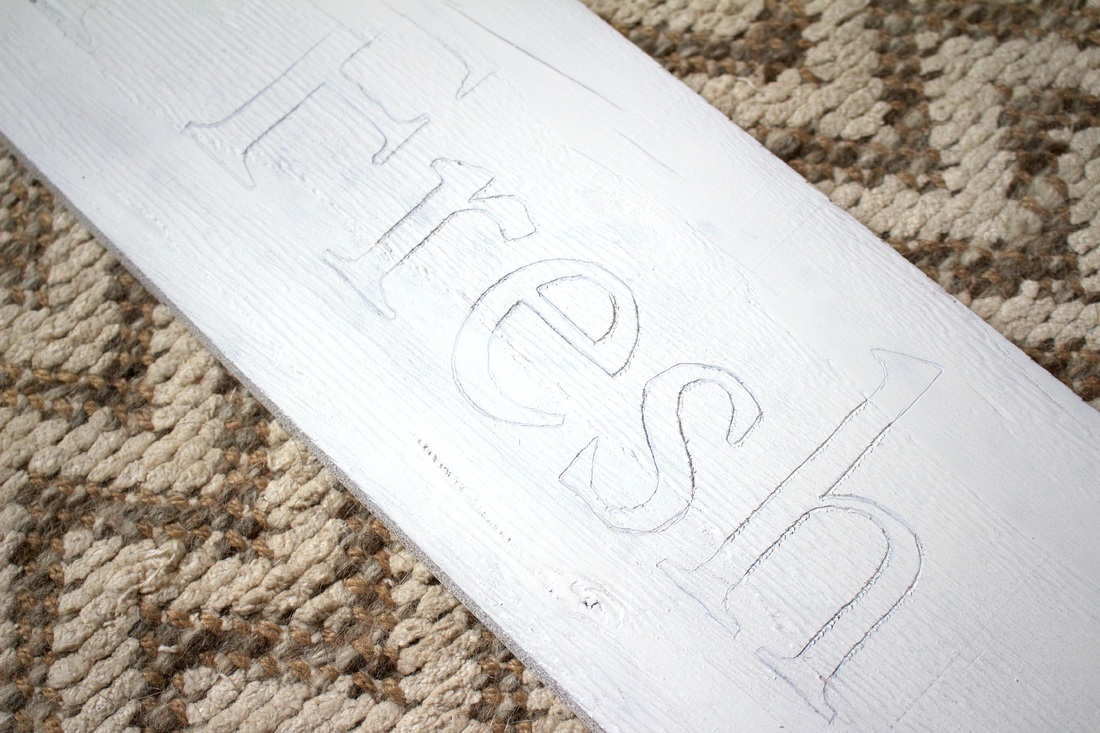
Now, I have to be honest. The transfer paper got a little bit of black smudges on the white paint. I went ahead and did a light spray over it to get rid of them. Once that drys, this is what your sign should start looking like. We are almost done!

As soon as I got to the part of filling in the words, I was rummaging through all my paint and seeing if I had any black paint. I completely spaced this part for some reason and thought that I had some. So thankful that I am neighbors with my family because I walked over and asked my sister-in-law if she had any. She came to my rescue and I found this magical marker! Could it be any more perfect for this project? Wood sign....wood marker. Perfect! (: Family comes to the rescue yet again haha.

And there you have it! My very own DIY sign! I'm loving it! Also, side note, I now have Christmas decor up. It's hard to take away the pumpkins. I love fall! Now, to start brainstorming for some type of curtains and trim work for that window. It's in some serious need of attention. What do you guys think I should do there? Leave your ideas in the comments below and let me know if you attempt your own sign! Have a great Sunday everyone! God Bless <3

 RSS Feed
